Pfoe! I've been very busy the past weeks, finishing everything in time for the wedding. But I made it. (It's a miracle!)
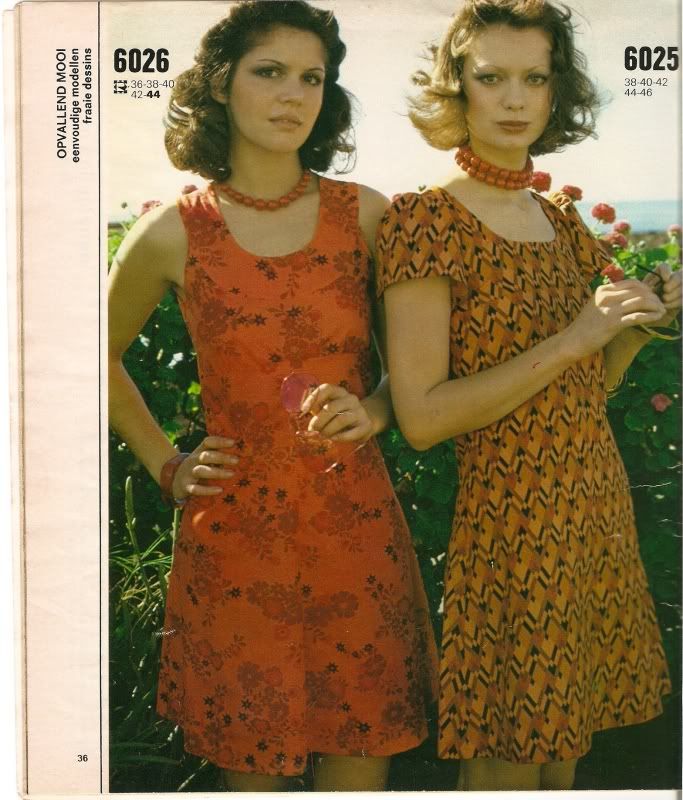
For my dress is used the pattern of the left dress. It's a pattern of a Knip (Dutch pattern magazine, like Burda) of 1974.
The fabric I used was a rather thick synthetic, from a second-hand dress. (My mom knew what it was called... I'll come back to that.)
I also wanted to reuse the beads, that where used as the original decoration, but in the end I decided they looked too cheap.
But looking at my dress, without any decoration, I found it was too plain.
So, how to decorate? By then, I had only a few days left until the wedding!
Well, that should be enough to sew a ribbon on a dress, right?
When I had time to shop for the ribbon, it was one day before the wedding, and as always, when time runs out, I could not find what I was looking for...
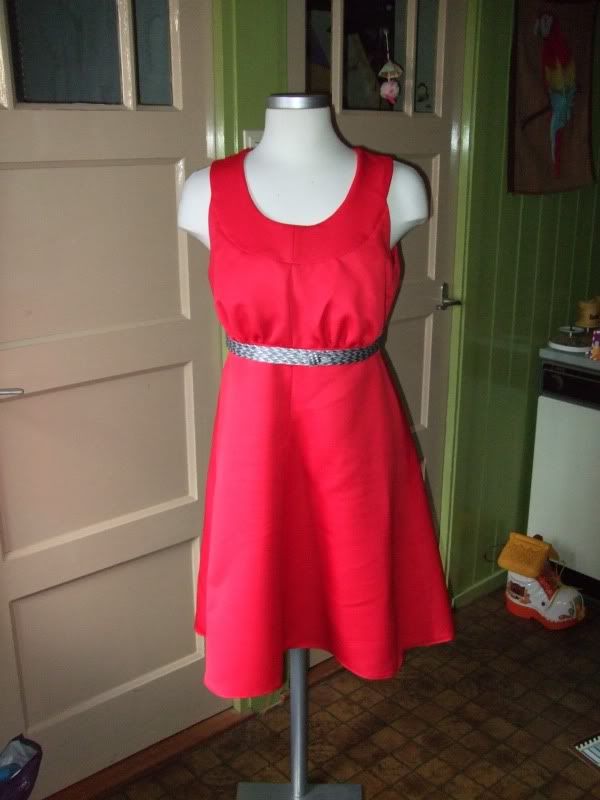
What I find, however, where very fine ribbons, in two shades of grey. I had decided to combine the red dress with grey, so I hoped I could use these as a decoration.
I bought 10 meters of both colours. That would be enough to... braid it.
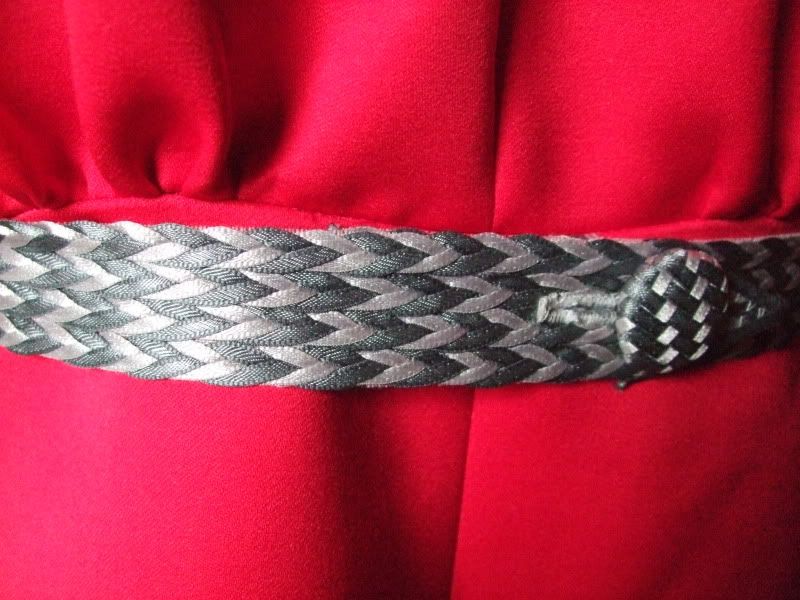
I made the ribbons into a four strand brand. But the band was still very fine. Four of these bands next to each other, however, gave a very nice effect.
To keep these bands in place, I ironed them on a strip of interfacing and made a sort of belt from it.
As a fastener, I made a fabric-covered button. For the fabric I used some leftovers of the ribbons and weaved it.
The last photo shows a close-up from the belt. I really like the result. It's a nice idea to use for more accessories.
I don't have any pictures to show of the wedding-dress. Hopefully they follow soon!
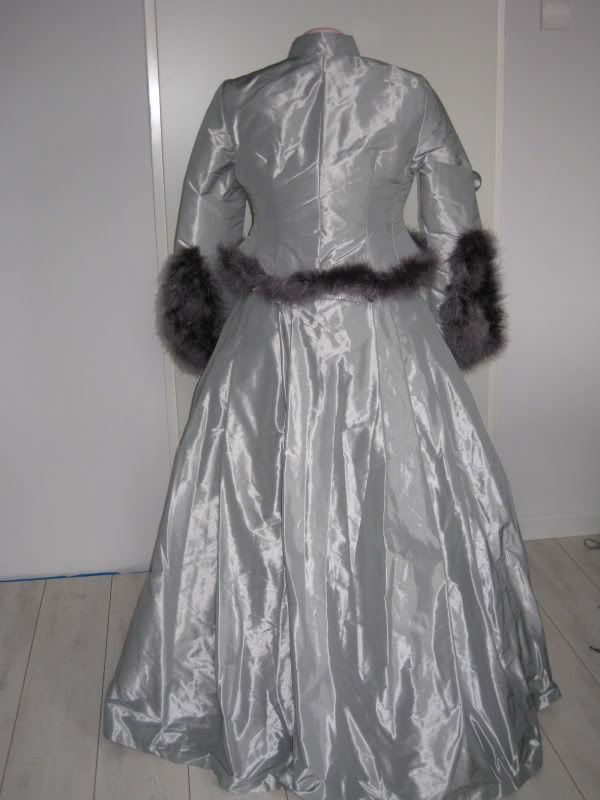
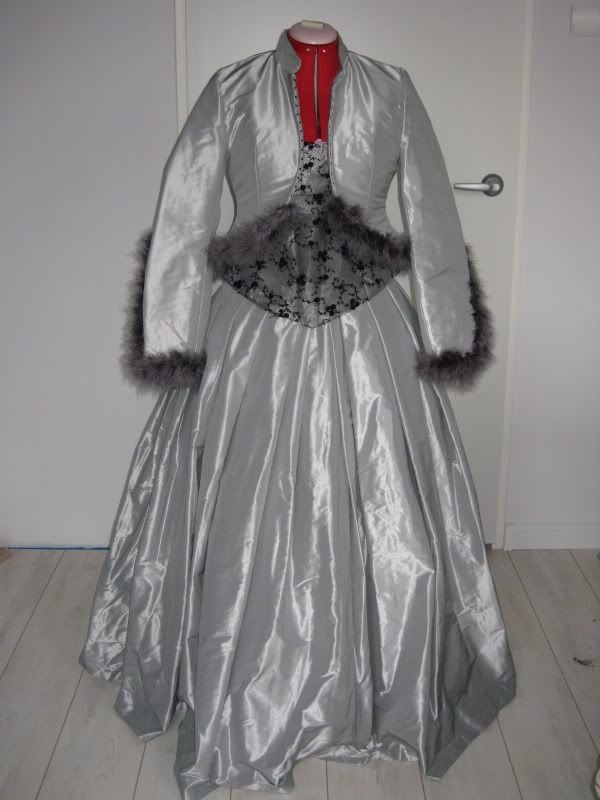
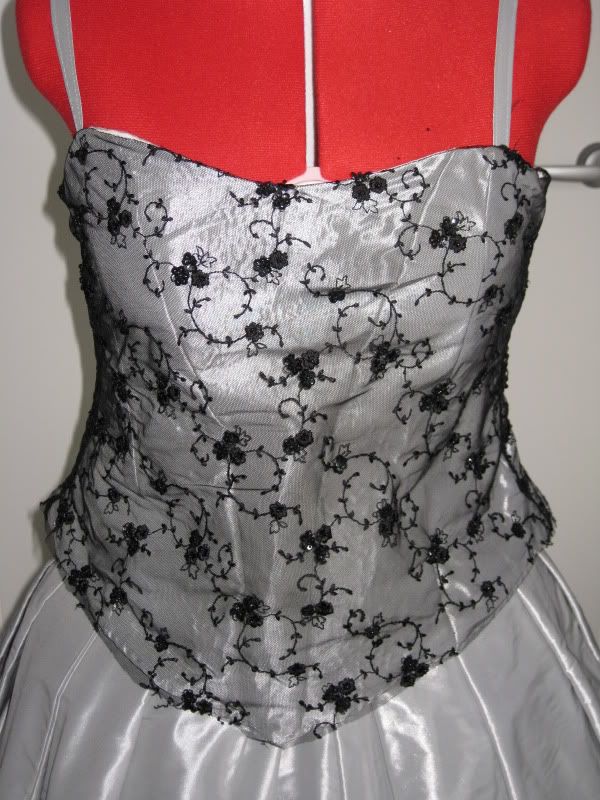
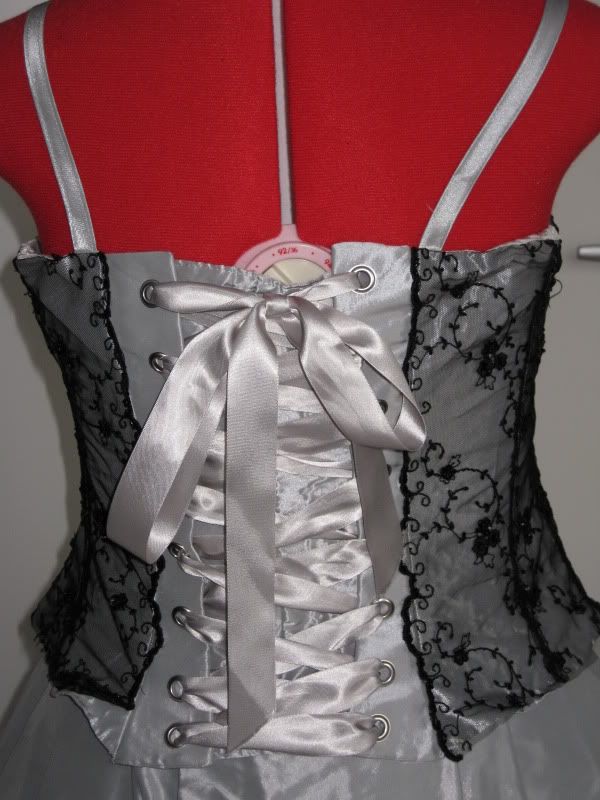 Here's the top I didn't make ;) I think it's lovely. It's the same fabric as the rest of the dress, covered with an embroidered tule. The lacing at the back is pure decoration, a zipper is hidden in the side seam.
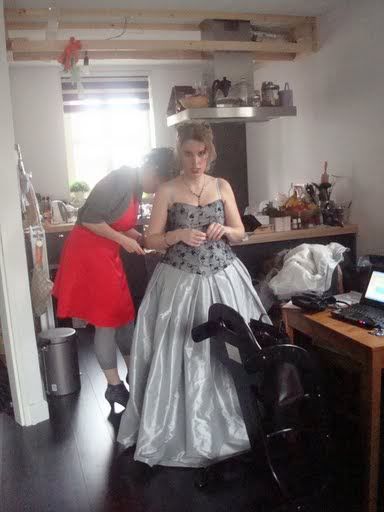 I guess the photographer they hired will have some nice pictures of the happy couple, but I haven't seen them yet, so maybe later.


